How to Build a Wooden Canoe Hull: A Beginner's Step-by-Step Guide
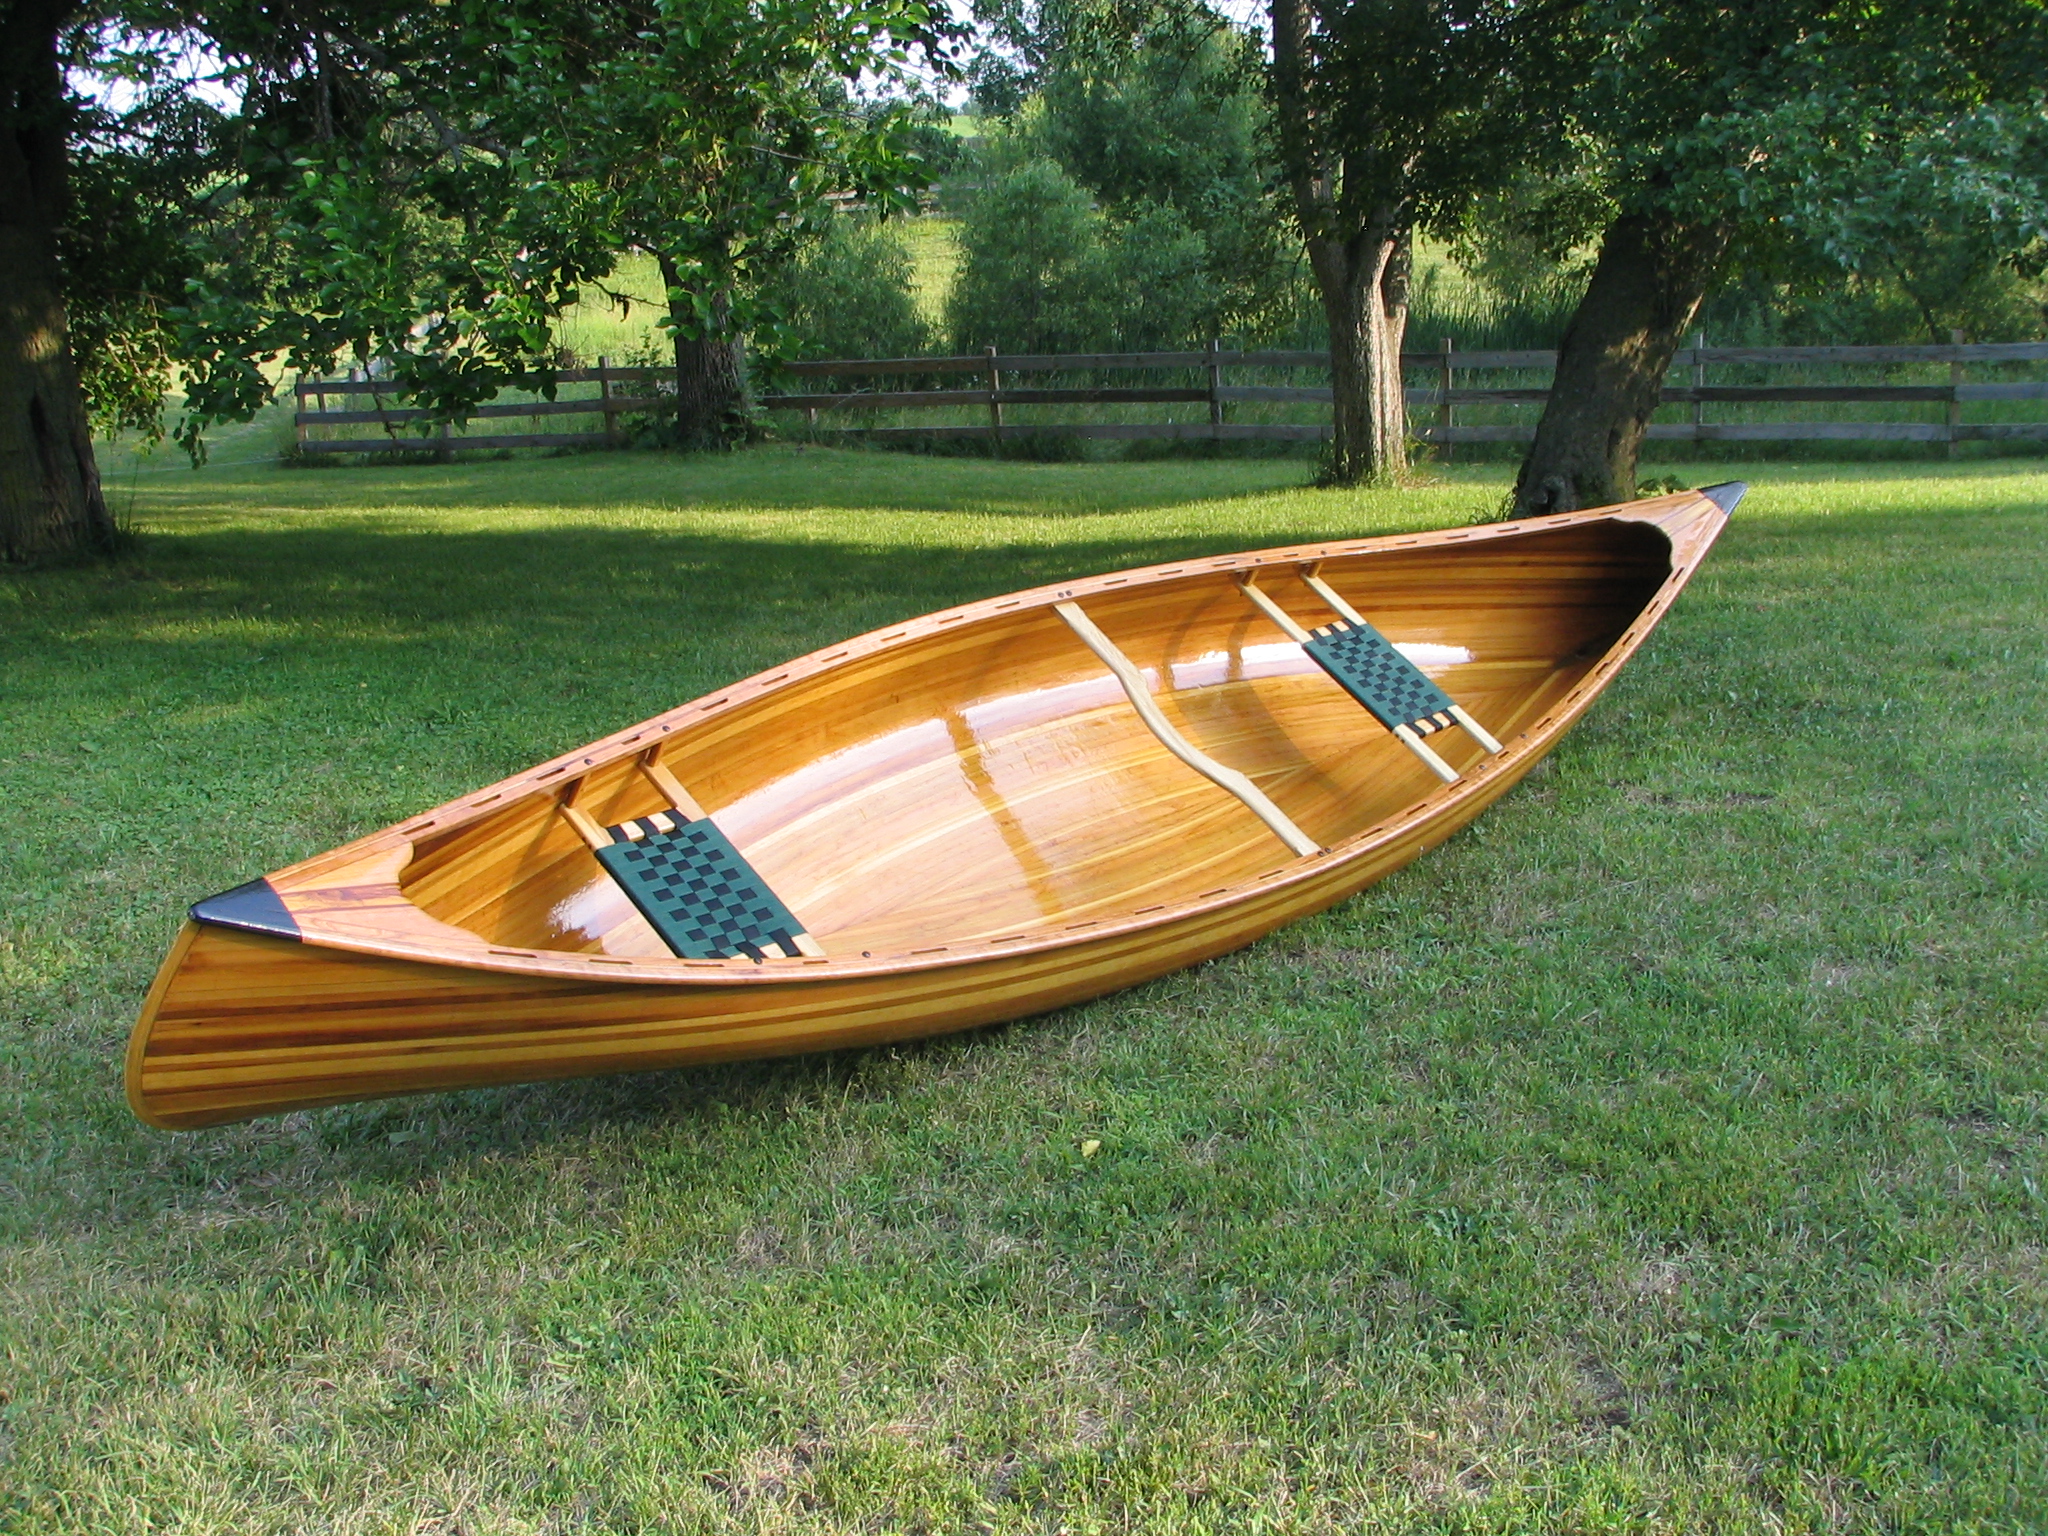
Building a Wooden Canoe Hull: A Beginner's Step-by-Step Guide
Hey there, fellow paddling enthusiast! Are you dreaming of gliding across serene waters in a handcrafted wooden canoe? The allure of building your own vessel is undeniable, and it's a journey that combines artistry, craftsmanship, and a touch of magic. This guide will walk you through the process of building a wooden canoe hull, tailored for beginners like yourself. Let's dive in and make this dream a reality!
Getting Started: Gathering Your Tools and Materials
Before you get your hands dirty, make sure you have all the essential tools and materials. This is like setting up your artist's palette before you start painting your masterpiece. Here's a list to get you going:
Tools
- Hand Plane: For shaping and smoothing wood.
- Wood Rasp: For rough shaping and removing excess material.
- Chisels: A variety of sizes for carving and shaping.
- Saw: A hand saw or a band saw for cutting wood.
- Hammer: For driving nails or tacks.
- Clamps: For securing pieces while gluing or assembling.
- Measuring Tape: For accurate measurements.
- Pencil: For marking and tracing patterns.
- Sandpaper: Various grits for smoothing surfaces.
- Safety Glasses: To protect your eyes from flying debris.
- Work Gloves: To protect your hands.
Materials
- Lumber: Choose high-quality wood like cedar, spruce, or mahogany. Consult with a lumber supplier for appropriate grades and thicknesses for canoe construction. The wood you select will influence the weight and durability of your canoe.
- Epoxy Resin and Hardener: For bonding and sealing the wood.
- Fiberglass Cloth: For reinforcing the hull.
- Wood Filler: For filling in gaps or imperfections.
- Paint or Varnish: To protect and enhance the wood.
- Canoe Plans: These are essential for guiding the construction process. You can find plans online or through reputable sources.
The Building Process: Step by Step
Now that you've gathered your gear, let's get started on the actual building. This is the fun part, where you begin to give shape to your dreams.
Step 1: Building the Frames
Start with the frames, the skeletal structure of your canoe. The frames provide the canoe's shape and strength. Each frame is typically made from multiple pieces of wood joined together.
- Cut the wood according to your plans. Be precise. Your plans will include measurements for each piece.
- Assemble the frames using glue and nails or screws. Be sure to use clamps to hold the pieces together while the glue dries.
- Check for squareness to ensure the frame is true. You can use a carpenter's square or a combination square to verify. If the frame is off, adjust as needed.
- Repeat for all the frames. Be sure to lay out all the frames according to the plans to ensure they are all the same.
Step 2: Building the Stems
The stems (bow and stern) are the pointed ends of the canoe. They help guide the canoe through the water and add strength to the hull.
- Cut the wood for the stems according to your plans. The stems should be slightly curved to match the overall shape of the canoe.
- Shape the stems using a hand plane or a wood rasp. You want to create a smooth, even surface on the inside and outside of the stems.
- Attach the stems to the first and last frames using screws, glue, and clamps.
Step 3: Creating the Planking
Planking is the process of covering the frame with thin strips of wood (planks). The planks form the hull of the canoe.
- Cut the planks to the correct length and width. Each plank needs to be slightly longer than the width of the canoe.
- Shape the planks to fit the curve of the canoe using a hand plane, rasp, or a bending jig. Be careful not to cut into the planking too much or you will weaken the hull.
- Attach the planks to the frames using screws or nails, and glue. Start with the keel plank and work your way up the sides. Be sure to stagger the joints so that you create a strong, watertight hull.
Step 4: Sanding and Finishing
Once the planking is complete, it’s time to give your canoe a smooth, even finish. This step requires patience and attention to detail.
- Sand the hull using sandpaper of progressively finer grits to remove any rough edges or uneven surfaces. This step will help make your canoe look smooth and professional.
- Apply epoxy resin to the inside and outside of the hull to seal and waterproof the wood. Be sure to follow the manufacturer’s instructions carefully. Epoxy resin is a powerful adhesive that will help to bond the wood together and protect it from water damage.
- Apply fiberglass cloth over the epoxy resin for additional reinforcement, especially in areas where the hull is stressed, like the bottom and the gunwales. Fiberglass adds extra strength and durability to the canoe.
- Sand the fiberglass and epoxy resin smooth.
- Apply a wood filler to any cracks or imperfections in the wood. Allow the filler to dry completely.
- Sand the wood filler to create a smooth, even surface.
- Apply a primer to the hull to create a smooth base for paint or varnish. Allow the primer to dry completely.
- Paint or varnish the hull. You can use any color you like for the paint. Choose a varnish that is designed for marine use to protect the wood from water damage.
Adding the Finishing Touches
With the hull complete, you can now add those special touches that make your canoe truly unique. Let's give your canoe a personality!
- Install the seats, thwarts, and yoke. These are the components that will make your canoe comfortable to paddle.
- Attach the outwales (the pieces of wood that go around the top edge of the hull).
- Add any additional trim, such as deck plates, handles, or rub rails.
- Apply a final coat of varnish or paint to seal and protect the canoe.
Enjoying Your Handmade Masterpiece
Congratulations, you have just built your own wooden canoe! Take a moment to admire your handiwork and celebrate this achievement. Now, it's time to get out on the water and enjoy your handcrafted masterpiece.
Commonly Asked Questions
How long does it take to build a wooden canoe?
The time it takes to build a canoe varies depending on the complexity of the design, your experience, and the amount of time you dedicate to the project. On average, it can take anywhere from 50 to 100 hours or more.
How much does it cost to build a wooden canoe?
The cost of building a wooden canoe can vary depending on the materials used, the complexity of the design, and the source of the materials. However, it's generally less expensive than purchasing a commercially made canoe, and it offers the satisfaction of creating something unique and personalized.
Do I need any special skills to build a wooden canoe?
While having some basic woodworking skills is helpful, you don’t need to be a seasoned craftsman. With patience, careful attention to detail, and a good set of plans, anyone can build a wooden canoe.
Where can I find canoe plans?
You can find canoe plans online, in woodworking magazines, or through reputable sources like the Wooden Canoe Heritage Association. Be sure to select a plan that is appropriate for your skill level.
What is the best wood to use for building a canoe?
The best wood for building a canoe depends on the desired weight, durability, and aesthetics. Common choices include cedar (for its light weight, strength, and aromatic qualities), spruce (for its strength and affordability), and mahogany (for its durability and beauty).
Building a wooden canoe is a rewarding journey that combines skill, patience, and passion. It's a chance to create something beautiful, unique, and long-lasting. So, gather your tools, select your plans, and embark on this exciting adventure! Happy building!

0 komentar:
Posting Komentar
Catatan: Hanya anggota dari blog ini yang dapat mengirim komentar.